· 5 min read Posted by Gustavo Fão Valvassori
Listening for element events with Compose for Web

Events play a key role in the interaction between your app and the browser. In a declarative world, events are the primary way to receive updates from the elements. The HTML document is really powerful in this regard.
As you can see in the W3C documentation, there are almost 100 event types that you can use. In this article, we will learn how to use them with Compose for Web.
Events from elements
As previously mentioned, most elements send events that your app can handle. The most common way to listen for
them in JS is using the addEventListener(eventName, eventCallback) method, and with Compose, the job is even easier.
As discussed in the past article, the AttributesBuilder (which we saw in this article) is very powerful. In addition to handling your element configuration, it provides a nice and clean way to add event listeners.
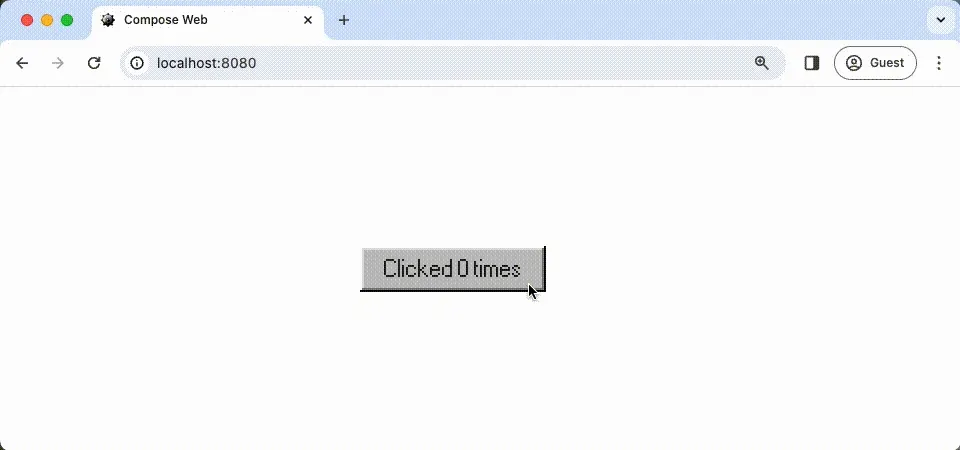
One simple example would be the onClick event. Here, we will
update the state of our composable every time the user clicks on the element.
@Composable
fun IncButton() {
    var times by remember { mutableStateOf(0) }

    Button(
        attrs = {
            onClick { times += 1 }
        }
    ) {
        Text("Clicked $times times")
    }
}
And this snippet will produce the following result:
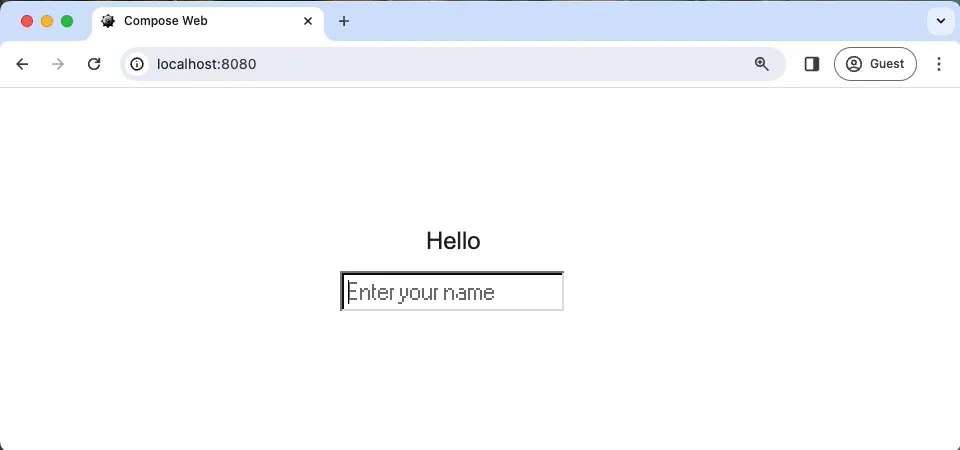
Another helpful example would be the onInput event. This event is
fired every time the user changes the value of an input element. And we can use it to update the state of our composable.
@Composable
fun HelloWorld() {
    var text by remember { mutableStateOf("") }

    Text("Hello $text")
    Input(
        type = InputType.Text,
        attrs = {
            onInput { event ->
                text = event.value
            }
        }
    )
}
The snippet above will produce the following result:
Using effects to handle events
Some cases are more complex than they look. Maybe you have a solid JS function that you just want to import as Kotlin. Let’s say you want to make your “windows” move when you drag them. To achieve that goal, you need to:
- listen for the click event on the Title Bar.
- while the user is dragging the mouse, you need to update the window’s position based on the mouse movement;
- finally, when the user releases the mouse, you need to stop listening for the mouse move event.
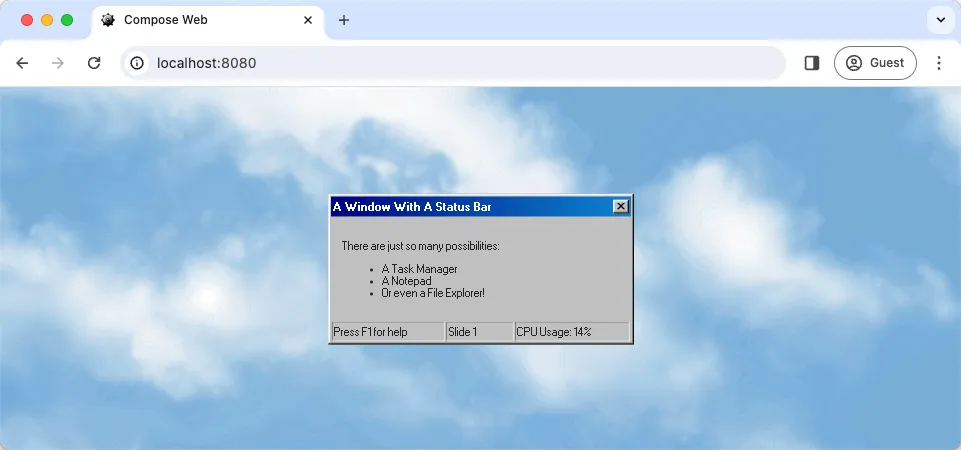
So, let’s start by creating our component. To make it simple, let’s recreate the Status Bar example from 98.css. The
HTML version is available in this link. The Compose version of it is below:
@Composable
fun DraggableDialog() {
    Window(
        viewId = "draggable-window",
        attrs = {
            style { minWidth(300.px) }
        }
    ) {
        TitleBar(title = "A Window With A Status Bar")

        WindowBody(contentPadding = true) {
            Div {
                P { Text("There are just so many possibilities:") }
                Ul {
                    Li { Text("A Task Manager") }
                    Li { Text("A Notepad") }
                    Li { Text("Or even a File Explorer!") }
                }
            }
        }

        StatusBar {
            StatusBarField { Text("Press F1 for help") }
            StatusBarField { Text("Slide 1") }
            StatusBarField { Text("CPU Usage: 14%") }
        }
    }
}
This composable will produce the following result:
The draggable logic mentioned before is the same one provided by the w3c for the draggable div element. You can check the JS implementation in this link. For the sake of simplicity, let’s just convert it into Kotlin. You can check the final code below with a few comments:
@Composable
fun DragAndDropEffect(viewId: String) =
    SideEffect { // First, It needs to be a SideEffect to run only once
        // Then we need to find the Window and the Title Bar elements.
        // If they don't exist, we just return
        val rootElement = document.getElementById(viewId) as? HTMLElement
            ?: return@SideEffect
        val titleBar = rootElement.getElementsByClassName("title-bar")[0] as? HTMLDivElement
            ?: return@SideEffect

        // As the Title Bar works as an "anchor" for the action, we add the mouse down on it
        // to detect when the user clicks to move
        titleBar.onmousedown = { downEvent ->
            downEvent.preventDefault()

            // When the user clicks, we need to get the current position of the mouse, to
            // calculate the movement
            var currentPositionX = downEvent.clientX
            var currentPositionY = downEvent.clientY

            // Then, we need to check for the mouse movement, every time the user moves the
            // mouse we need to update the window position
            document.onmousemove = { moveEvent ->
                moveEvent.preventDefault()

                // Now we calculate the difference between the current position and the
                // previous positions
                val offsetX = currentPositionX - moveEvent.clientX
                val offsetY = currentPositionY - moveEvent.clientY

                // Update the current position with the new one
                currentPositionX = moveEvent.clientX
                currentPositionY = moveEvent.clientY

                // And finally, we update the window position with the new offset
                rootElement.style.left = (rootElement.offsetLeft - offsetX).toString() + "px"
                rootElement.style.top = (rootElement.offsetTop - offsetY).toString() + "px"

                null // Callbacks need some return, so you can just return null from it
            }

            // In the end, we need to remove the mouse move and mouse up listeners
            document.onmouseup = { _ ->
                document.onmouseup = null
                document.onmousemove = null

                null // Same from onmousemove
            }

            null // Same from onmousemove
        }
    }
With the side effect created, we can just update our composable to use it.
@Composable
fun Window(
    viewId: String? = null,
    draggable: Boolean = true,
    attrs: AttrBuilderContext<HTMLDivElement>? = null,
    content: ContentBuilder<HTMLDivElement>,
) {
    if (draggable && viewId != null) {
        DragAndDropEffect(viewId)
    }

    Div(
        attrs = {
            attrs?.invoke(this)
            viewId?.let(::id)
            classes(NineEightCSS.window)
        },
        content = content
    )
}
With this, we can achieve the draggable window effect which you can see in the final result below:
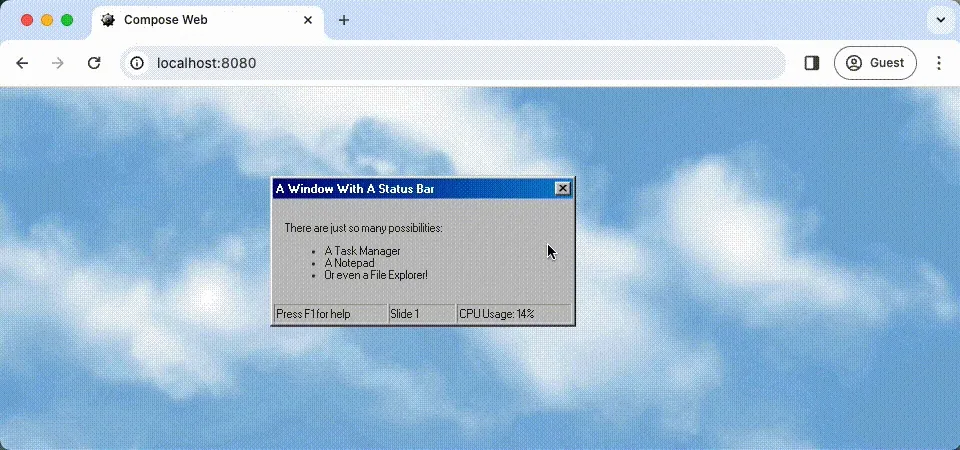
Final thoughts
In this post, we saw how Compose for Web handles events and how to use them. We also saw how to use effects to handle more complex events.
Also, the code from the draggable window could be implemented using the events directly in the window composable element; the choice to use the SideEffect was to explain how to handle more complex events.